Looking for guidance on how to descale a Keurig K-Cup coffee maker? Proper descaling is crucial for maintaining your coffee maker’s performance and extending its lifespan. Over time, mineral deposits from water can accumulate inside the machine, affecting the taste of your coffee and potentially causing operational issues. In this guide, we’ll walk you through the essential steps for descaling your Keurig K-Cup coffee maker, ensuring it remains in top condition. Follow these expert tips to keep your machine running smoothly and enjoy perfect coffee every time. Whether you’re a daily coffee drinker or just an occasional user, understanding how to descale your Keurig K-Cup coffee maker will enhance your brewing experience and maintain the quality of your coffee.
Turn off and unplug the coffee maker

Turning off and unplugging your coffee maker is essential for safety and maintenance. To ensure a safe shutdown, always turn off the coffee maker using the power button. Once powered down, unplug the coffee maker from the outlet to avoid electrical hazards and conserve energy. Unplugging also helps prevent potential malfunctions or damage. This simple step is crucial for maintaining your coffee maker’s longevity and ensuring it operates efficiently. Regularly turning off and unplugging your coffee maker, especially when not in use, contributes to its overall performance and safety. Follow these practices to keep your coffee maker in top shape and enjoy your coffee with peace of mind.
Remove and empty the water reservoir
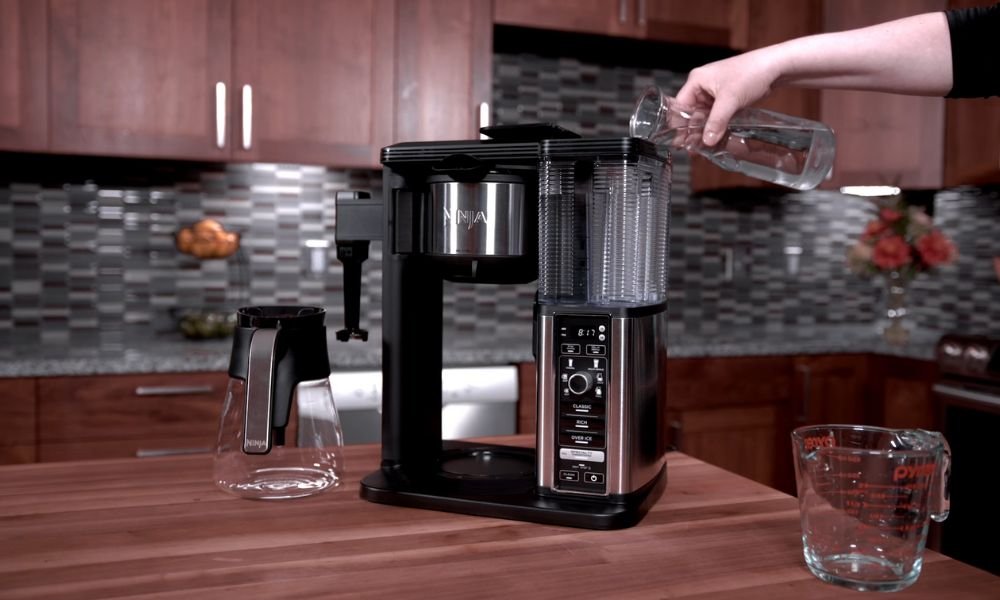
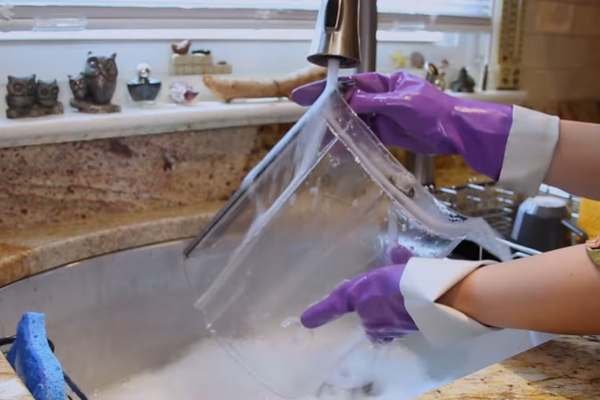
To maintain your coffee maker’s performance, it’s important to remove and empty the water reservoir regularly. Start by turning off and unplugging the coffee maker for safety. Carefully detach the water reservoir from the machine, following the manufacturer’s instructions. Empty any remaining water to prevent mold and mineral buildup. Rinse the reservoir with clean water to ensure it’s free of residues. Reattach the empty and cleaned reservoir to your coffee maker, making sure it’s securely in place. Regularly removing and emptying the water reservoir helps keep your coffee maker running smoothly and extends its lifespan. Adopting this practice ensures that every brew is fresh and free from contaminants.
Remove the k-cup holder and drip tray
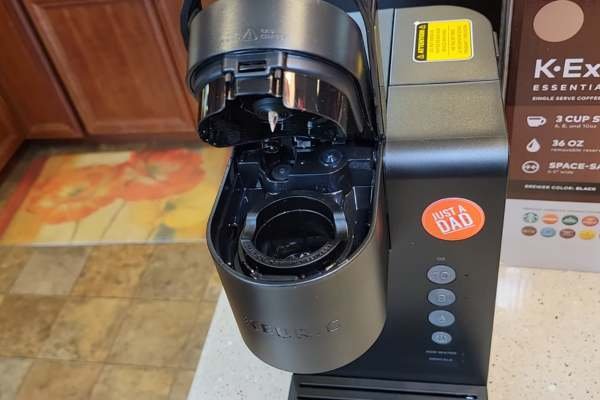
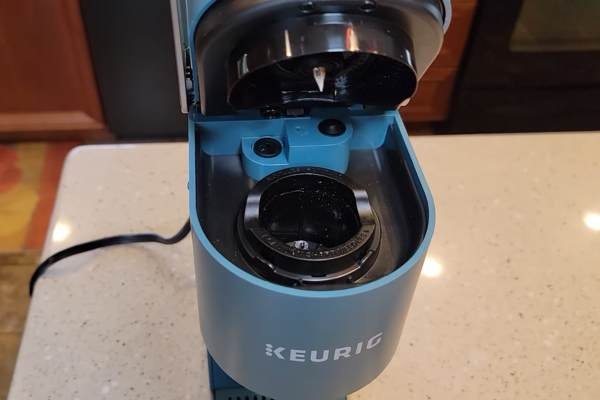
To keep your Keurig coffee maker in top condition, it’s essential to remove the K-Cup holder and drip tray regularly. Begin by turning off and unplugging the machine for safety. Open the brewer and carefully detach the K-Cup holder by lifting it out of the chamber. Next, remove the drip tray from the base of the machine. Clean both parts with warm, soapy water to eliminate coffee grounds and residues. Rinse thoroughly and let them dry completely before reassembling. Removing the K-Cup holder and drip tray helps maintain hygiene and ensures optimal performance of your coffee maker. Regular cleaning of these components also prevents buildup that could affect the taste of your coffee and the machine’s efficiency.
Clean the k-cup holder and drip tray
Regular maintenance of your Keurig coffee maker involves cleaning the K-Cup holder and drip tray to ensure optimal performance. Start by turning off and unplugging the machine. Remove the K-Cup holder and drip tray from their respective positions. Wash the K-Cup holder and drip tray with warm, soapy water to remove coffee grounds and stains. Read- clean a Cuisinart k cup coffee maker. Use a soft brush or sponge for thorough cleaning. Rinse them well and let them air dry completely before reattaching. Cleaning the K-Cup holder and drip tray** regularly helps prevent clogging and maintains the freshness of your coffee. This routine also extends the lifespan of your coffee maker and ensures every cup tastes its best.
Prepare the descaling solution
Preparing the descaling solution is a key step in maintaining your coffee maker’s efficiency. Start by mixing the descaling solution with water according to the manufacturer’s instructions. Typically, this involves combining a specific amount of descaling solution with water in the reservoir. Stir or shake the mixture gently to ensure it’s well combined. Pour the prepared solution into the coffee maker’s water reservoir, ensuring it’s filled to the recommended level. Preparing the descaling solution correctly is essential for effectively removing mineral buildup and extending the lifespan of your coffee maker. Follow the instructions carefully to achieve the best results and keep your coffee maker running smoothly.
Pour the descaling solution into the water reservoir
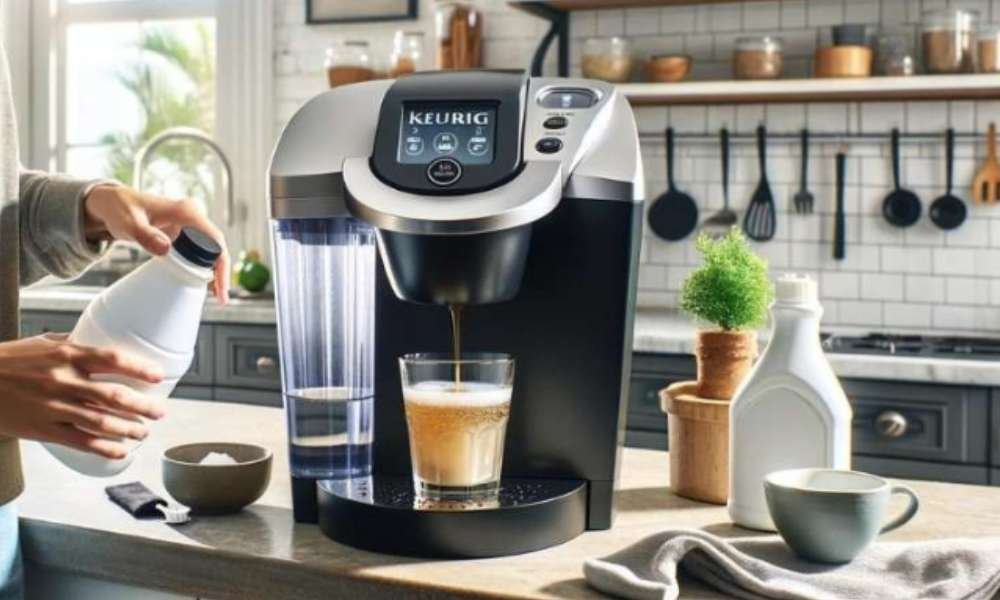
To maintain your coffee maker’s performance, it’s crucial to pour the descaling solution into the water reservoir correctly. Begin by mixing the descaling solution with water as per the manufacturer’s guidelines. Once prepared, carefully pour the solution into the coffee maker’s water reservoir, ensuring it reaches the fill line if specified. This step helps dissolve mineral deposits and prevents buildup. After adding the solution, follow the coffee maker’s descaling cycle instructions for optimal results. Pouring the descaling solution into the water reservoir effectively removes impurities, enhancing the machine’s efficiency and prolonging its lifespan. Regular descaling ensures your coffee maker continues to brew great-tasting coffee.
Start the descaling cycle
Starting the descaling cycle is essential for keeping your coffee maker in top condition. To begin, ensure the coffee maker is turned off and unplugged. Prepare the descaling solution according to the manufacturer’s instructions and pour it into the water reservoir. Plug in and power on the coffee maker, then initiate the descaling cycle by following the machine’s specific instructions—this usually involves pressing a designated button or selecting a descaling mode. The coffee maker will circulate the solution through its system, removing mineral buildup. Starting the descaling cycle ensures thorough cleaning, enhancing your coffee maker’s performance and extending its lifespan. Regular descaling is key to enjoying consistent, high-quality coffee.
Discard the descaling solution
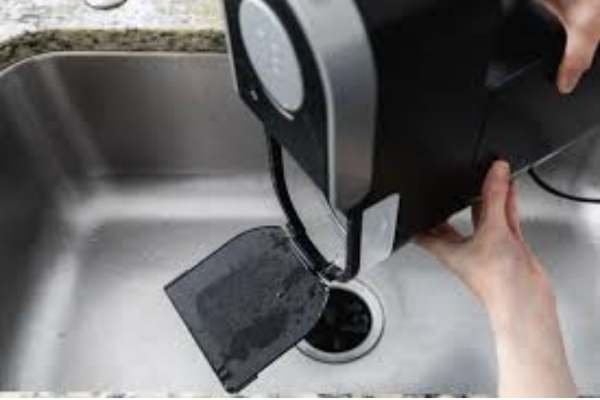
After completing the descaling cycle, it’s important to discard the descaling solution properly. Start by turning off and unplugging the descale a Keurig k-cup coffee maker. Carefully remove the water reservoir and pour out the used descaling solution into a sink. Rinse the reservoir thoroughly with clean water to remove any remaining solution. Dispose of the solution according to local regulations, as it may contain chemicals. Discarding the descaling solution ensures that any residue does not affect future brews or damage your coffee maker. Proper disposal is essential for maintaining the hygiene and efficiency of your machine, and it helps extend its lifespan for consistent, high-quality coffee.
Rinse the water reservoir
After descaling your coffee maker, it’s crucial to rinse the water reservoir thoroughly. Begin by turning off and unplugging the machine. Remove the water reservoir and discard any remaining descaling solution. Rinse the reservoir under warm running water to remove any residue or lingering solution. Use a clean sponge or brush to ensure all traces of the descaling agent are eliminated. After rinsing, allow the reservoir to air dry completely before refilling it with fresh water. Rinsing the water reservoir is vital to prevent any residual descaling solution from affecting the taste of your coffee and to maintain the overall cleanliness and efficiency of your coffee maker.
Refill with fresh water

After descaling, it’s essential to refill with fresh water to ensure your coffee maker is ready for use. Begin by turning off and unplugging the machine. Once the water reservoir is completely dry and clean, fill it with fresh, cold water up to the recommended fill line. This step helps remove any remaining descaling solution and prepares the coffee maker for your next brew. Reattach the reservoir securely to the coffee maker. Refilling with fresh water ensures that your coffee maker operates effectively and that your coffee tastes clean and fresh. Regular maintenance, including this step, is key to extending the lifespan of your coffee maker and ensuring a consistently great coffee experience.
Clean external parts
To maintain your coffee maker’s appearance and performance, it’s important to clean the external parts regularly. Begin by turning off and unplugging the machine. Use a soft, damp cloth to wipe down the exterior surfaces, including the control panel and outer casing. For stubborn stains, a mild dish soap solution can be used. Avoid using abrasive cleaners or soaking any part of the machine. Gently clean around buttons and handles to remove any coffee spills or smudges. Dry the external parts with a clean, dry cloth to prevent water spots. Cleaning external parts not only keeps your coffee maker looking great but also ensures a hygienic environment for brewing. Regular cleaning helps maintain the machine’s overall condition and performance.
Reassemble and test
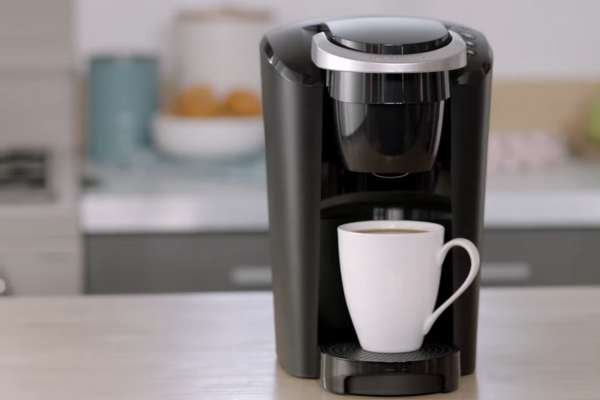
After cleaning and descaling, it’s important to reassemble and test your coffee maker. Begin by ensuring all parts, including the water reservoir, K-Cup holder, and drip tray, are completely dry. Reattach the water reservoir and other components to their respective positions. Plug in the coffee maker and turn it on. Run a cycle with fresh water to ensure everything is functioning correctly and to remove any remaining cleaning solution. Reassembling and testing the coffee maker ensures that all components are securely in place and that the machine is ready for use. This step helps verify that the cleaning process was effective and that your coffee maker is operating smoothly, providing you with a reliable brewing experience.
Conclusion
Knowing how to descale a Keurig K-Cup coffee maker is essential for maintaining its performance and longevity. Regular descaling helps prevent mineral buildup, ensuring your coffee maker operates efficiently and brews great-tasting coffee. By following a straightforward process—preparing the descaling solution, pouring it into the water reservoir, starting the descaling cycle, and thoroughly rinsing the reservoir—you can keep your coffee maker in optimal condition. Proper maintenance not only enhances the flavor of your coffee but also extends the lifespan of your machine. Incorporate descaling into your routine to ensure your Keurig K-Cup coffee maker continues to deliver consistent, high-quality brews.