Are you new to the world of freshly brewed coffee with a Start Smeg coffee maker? Starting your Smeg coffee maker is simple and rewarding, allowing you to enjoy barista-level coffee at home. In this guide, we’ll walk you through the essential steps to get your machine up and running. From assembling the necessary components to selecting your preferred coffee blend and settings, you’ll be set to savor that perfect cup. Whether you’re making your morning espresso or entertaining guests, your Smeg coffee maker is designed for ease and excellence. Let’s dive into the art of coffee making with Smeg and transform your coffee experience today!
Brief description of steps to successfully manage
Master the art of coffee making with a Start Smeg Coffee Maker using these simple steps. Start by plugging in your machine and filling the water reservoir. Next, add your favorite coffee grounds to the filter. Set your preferences for strength and cup size on the easy-to-navigate panel. Press the start button to kick off the brewing process. In just minutes, your Smeg will produce a delicious, aromatic cup of coffee. Follow these steps to ensure a perfect brew every time, enhancing your daily coffee experience with the sleek and efficient Smeg maker. Enjoy your expertly brewed coffee!
Understanding your Smeg coffee maker
– Description of different models available
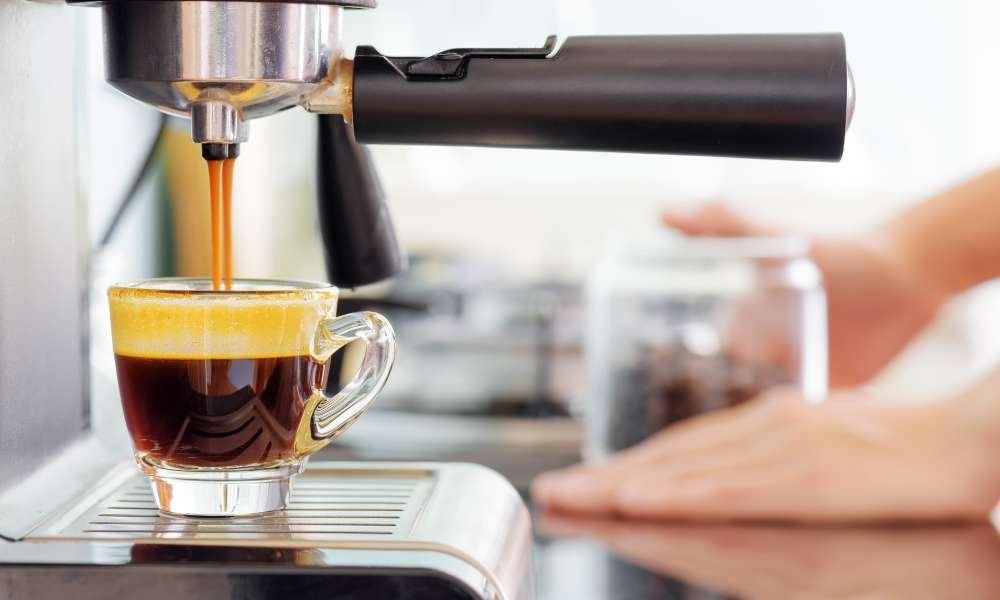
Explore the diverse range of Smeg coffee makers, designed to cater to every coffee lover’s needs. Whether you prefer the simplicity of a drip maker, which methodically brews a robust pot of coffee, or the sophistication of an espresso machine, ideal for crafting rich, creamy espresso shots, Smeg has a model for you. For those who cherish versatility, Smeg’s combination units offer both espresso and drip coffee capabilities. Each model boasts Smeg’s signature retro style, making them a stylish addition to any kitchen. Discover the perfect Smeg maker to elevate your coffee experience.
– Key features and design elements
Smeg makers blend functionality with style, featuring state-of-the-art technology and a vintage aesthetic. Key features include customizable brewing options, programmable settings, and built-in grinders for fresh coffee at any time. The thermal carafes ensure coffee stays hot without compromising taste. Design-wise, Smeg’s iconic 1950s retro style is available in various colors, complementing any kitchen decor. These machines are not just appliances but statement pieces, combining elegance and performance to enhance your daily coffee ritual.
Preparation before use
– Unboxing and setting up your coffee maker
Unboxing and setting up your new maker are an exciting first step towards exceptional home-brewed coffee. Begin by carefully removing the coffee maker from its packaging. Place it on a stable surface near an outlet and ensure its level for optimal operation. Insert the removable components like the water reservoir and filter basket. Plug in the unit, and then fill the reservoir with fresh water. Following these simple steps will have your coffee maker ready to brew your first delicious cup in no time. Enjoy the experience!
– Necessary cleaning before the first use
Before enjoying your first cup of coffee, it’s crucial to clean your new maker properly. Start by washing all removable parts, such as the carafe and filter basket, with warm soapy water. Rinse thoroughly to remove any soap residue. Next, run a water cycle through the machine: fill the reservoir with fresh water and operate the maker without coffee. This initial cycle cleans the internal components, ensuring your coffee will taste fresh and delicious from the first sip.
– Assembling the parts
Assembling your maker is a straightforward process. Start by securing the water reservoir in its designated slot at the back or side of the machine. Next, place the filter basket into its compartment, ensuring it sits properly for optimal brewing. Finally, position the carafe on the warming plate, making sure it aligns correctly to catch the brewed coffee. These correct placements are essential for efficient operation and to prevent any spills or malfunctions. Proper assembly guarantees a smooth coffee-making experience every time.
Unpacking and setting up
– Instructions for unboxing and marking all included components
Unboxing your new coffee maker marks the beginning of a delightful brewing journey. Carefully remove the maker from its box and packaging materials. Lay out all the components to ensure everything is present: the main unit, carafe, water reservoir, filter basket, and user manual. Inspect each part for any shipping damage and familiarize yourself with their functions as outlined in the manual. Identifying all included parts before assembly not only ensures a smooth setup but also helps you maximize the features of your coffee maker for the best brewing results.
– Guidance on choosing the right location for the coffee maker on your countertop
Choosing the right location for your Start Smeg Coffee Maker on the countertop is essential for both functionality and safety. Select a spot away from the edge to prevent accidents and near an electrical outlet for easy power access. Ensure the area is free from overhead cabinets to allow for steam to dissipate without causing damage. Additionally, place your coffee maker on a flat, stable surface to avoid spills and ensure consistent operation. Proper positioning not only enhances your brewing experience but also integrates the appliance seamlessly into your kitchen’s workflow.
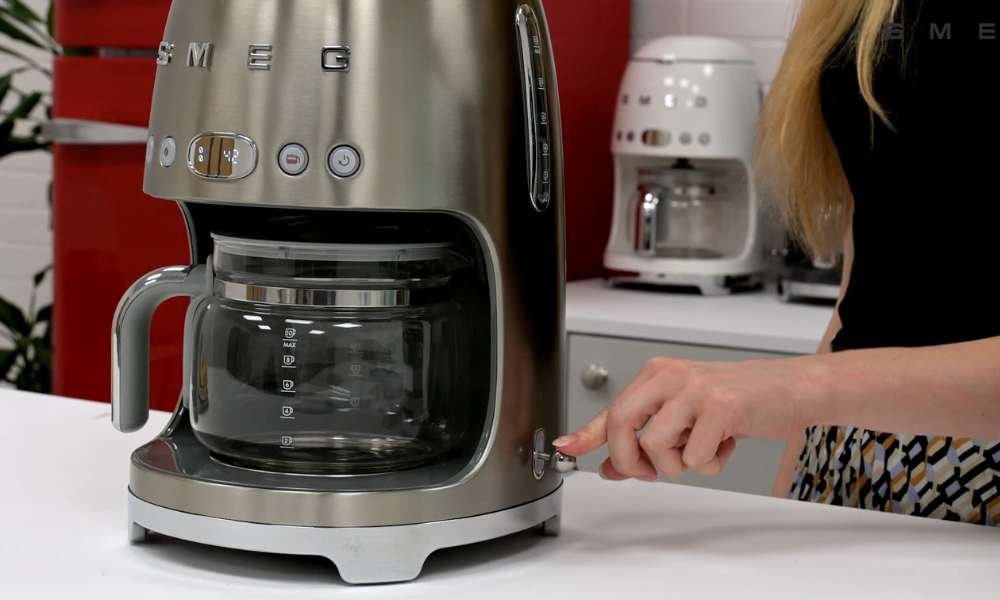
Using the control panel
– Explanation of each button and control feature, including how to program your coffee preferences
Understanding your coffee maker’s buttons and controls is key to customizing your brewing experience. Each model typically includes a power button, a brew start button, and options to select brew strength and cup size. Advanced models offer programmable settings for specific brewing times and temperatures, allowing you to wake up to freshly brewed coffee. To program your preferences, use the menu to navigate to settings, choose your desired options, and save them. Familiarizing yourself with these controls lets you tailor each cup of coffee to your taste, ensuring a perfect brew every time.
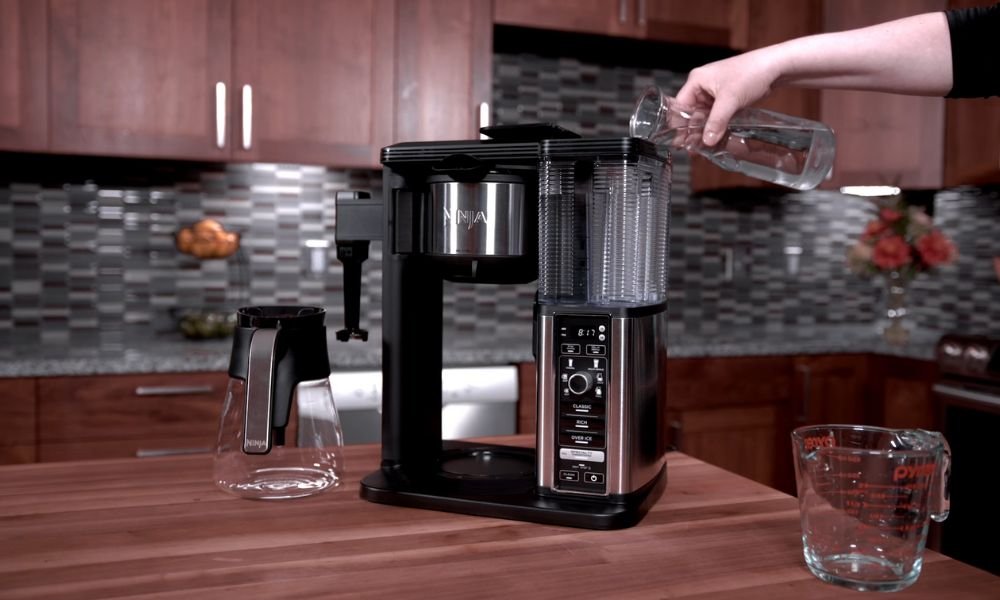
Filling the water reservoir
-How to clean the coffee maker after each use
Correct water measurement is crucial for perfect coffee brewing. Most makers have clear markings on the water reservoir indicating the amount of water needed for different numbers of cups. Generally, use about 6 ounces of water per cup of coffee. To ensure accuracy, fill the reservoir using the marked guidelines corresponding to the number of cups you wish to brew. This precision ensures that your coffee is neither too strong nor too weak, providing the ideal balance for an enjoyable cup every time.
Cleaning after use
– How to clean the coffee maker after each use to maintain its condition and ensure great-tasting coffee
Maintaining your maker is crucial for great-tasting brews. After each use, empty and rinse the carafe and filter basket. For a deeper clean, wipe down the exterior and any removable parts with a damp cloth to remove coffee residues and oils. Weekly, decalcify the machine by running a cycle with a mix of equal parts water and vinegar, followed by a few cycles with just water to rinse any residues. Regular cleaning not only prolongs the life of your coffee maker but also ensures consistently delicious coffee every time.
Regular maintenance tips
– Recommendations for descaling and deep cleaning the coffee maker periodically
Periodic descaling and deep cleaning are essential for maintaining your coffee maker’s performance and coffee quality. Use a descaling solution or a homemade mix of equal parts white vinegar and water to remove mineral buildup. Fill the reservoir with the solution, run a brewing cycle, then let the machine sit for an hour. Follow up with two to three cycles of fresh water to rinse out any residual solution. For deep cleaning, dismantle removable parts and wash them in soapy water. These steps ensure your maker operates efficiently and your coffee tastes fresh.
Conclusion
Starting your Start Smeg Coffee Maker is the first step towards a delightful coffee experience. To begin, ensure the machine is connected to power and the water reservoir is filled. Insert your favorite coffee grounds into the filter and set your desired preferences for strength and size using the user-friendly controls. Simply press the start button and let the Smeg work its magic, brewing a perfect cup of coffee in minutes. Regular maintenance and proper setup will enhance the machine’s performance and your enjoyment of each cup. Enjoy the simplicity and efficiency of starting your Smeg maker for a superior coffee experience every day.