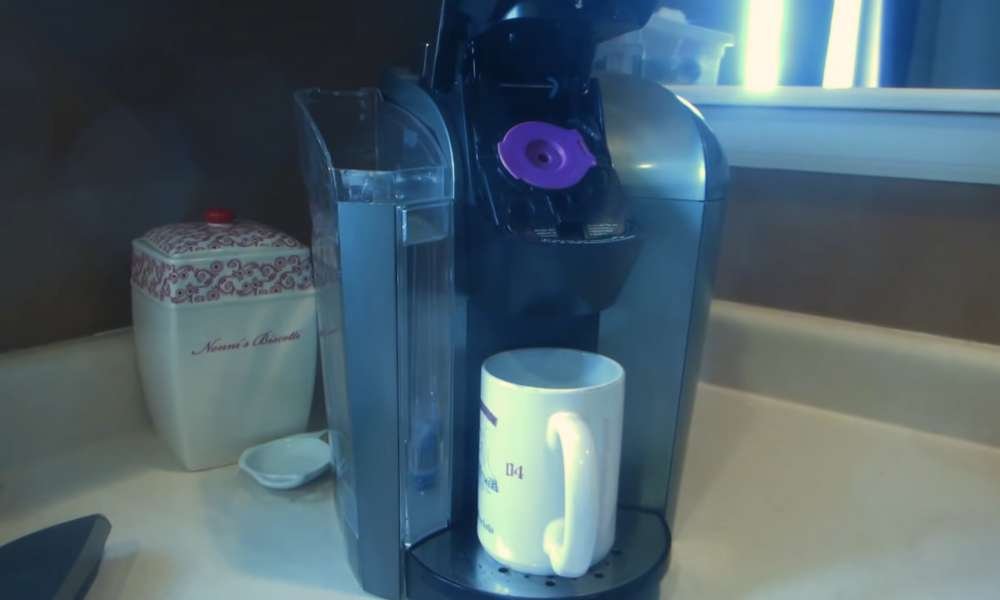
Need to know how to clean a Keurig 2.0 coffee maker? Keeping your Keurig 2.0 in top condition ensures every cup tastes perfect. Start by descaling every 3-6 months with a Keurig descaling solution or vinegar. Remove and wash the water reservoir, lid, and drip tray with warm soapy water. Use a paperclip to clear any clogs in the needle. Don’t forget to replace the water filter regularly. For the brewer’s exterior, wipe down with a damp cloth. Cleaning your Keurig 2.0 regularly not only improves the taste of your coffee but also extends the life of your machine. Follow these simple steps to maintain your Keurig 2.0, and enjoy a flawless brew every time.
Cleaning important?
Wondering why it’s important to clean a Keurig 2.0 coffee maker? Regular cleaning keeps your machine running smoothly and ensures every cup tastes fresh. Over time, mineral buildup and coffee residues can affect the taste and function. Descaling prevents clogs and extends the lifespan of your brewer. Cleaning the water reservoir, drip tray, and needle prevents bacteria and mold growth. A clean Keurig 2.0 ensures consistent performance and delicious coffee every time. By maintaining your Keurig, you protect your investment and enjoy the best coffee experience. Keep your machine in top shape for the perfect brew.
List of materials and cleaning agents required (e.g., descaling solution, dish soap, vinegar clean cloth)
- Descaling Solution: Keurig’s descaling solution or a homemade vinegar solution to remove mineral buildup.
- Dish Soap: Gentle dish soap for cleaning removable parts like the water reservoir and drip tray.
- Vinegar: White vinegar for an effective and natural descaling alternative.
- Clean Cloth: A soft, damp cloth for wiping down the exterior and removing stains.
- Paperclip: To unclog the needle and ensure smooth water flow.
Steps to turn off and unplug the machine
- Power Off: Press the power button to turn off the machine.
- Cool Down: Allow the Keurig to cool down if it has been recently used.
- Unplug: Carefully unplug the power cord from the electrical outlet.
- Detach Accessories: Remove any removable parts like the water reservoir and drip tray.
Change the water filter
To change the water filter in your Keurig 2.0, follow these steps:
1. Soak New Filter: Soak the new water filter in fresh water for five minutes.
2. Rinse: Rinse the filter cartridge under running water for 60 seconds.
3. Remove Old Filter: Open the filter holder, remove the old filter, and discard it.
4. Install New Filter: Place the new filter into the filter holder and snap it shut.
5. Replace Holder: Insert the filter holder back into the water reservoir.
Regularly changing the water filter ensures your coffee tastes fresh and your machine operates efficiently. Aim to replace the filter every two months for optimal performance. Read – How to Clean a Bella Coffee Make
Clean the needle
To clean the needle of your Keurig 2.0, follow these steps:
1. Turn Off and Unplug: Ensure the machine is off and unplugged.
2. Access the Needle: Lift the handle to expose the needle.
3. Use a Paperclip: Straighten a paperclip and gently insert it into the needle to remove any coffee grounds or debris.
4. Rinse: Run water through the needle area to clear any remaining particles.
5. Reassemble: Lower the handle and plug the machine back in.
Cleaning the needle regularly prevents clogs and ensures a smooth brewing process, keeping your Keurig 2.0 in top condition.
Wash the drip tray and plate
- Remove Tray and Plate: Carefully slide out the drip tray and plate.
- Wash: Use warm, soapy water to wash both parts thoroughly.
- Rinse: Rinse them under clean water to remove any soap residue.
- Dry: Dry the drip tray and plate with a clean cloth or let them air dry completely.
- Reassemble: Once dry, reinsert the drip tray and plate into the machine.
Regularly washing the drip tray and plate keeps your Keurig 2.0 clean, preventing buildup and ensuring better-tasting coffee.
Run hot water cycles
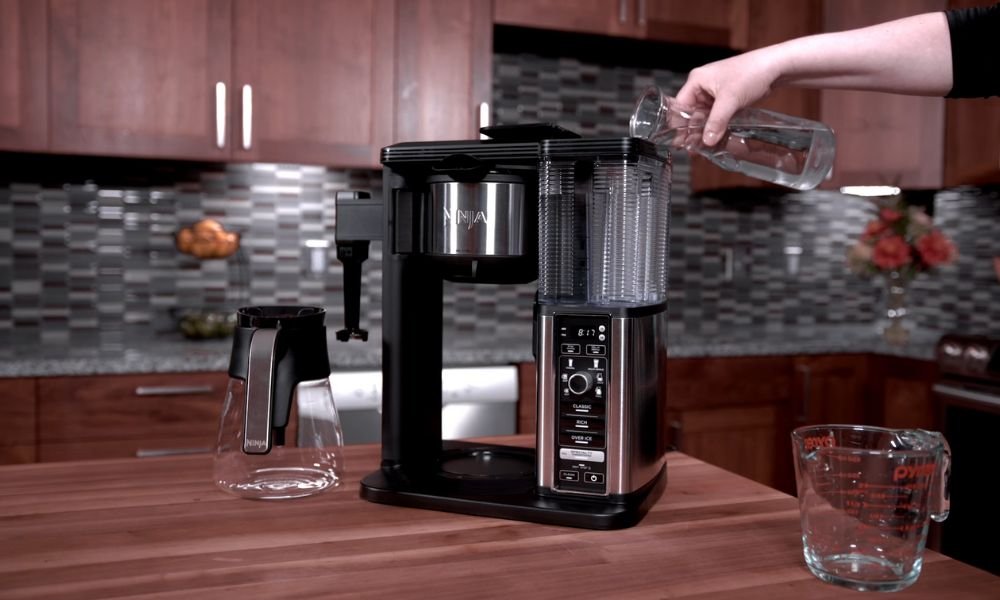
- Fill Reservoir: Fill the water reservoir with fresh water.
- Run Cycle: Without a K-Cup, run a brew cycle to flush the system.
- Repeat: Repeat 2-3 times for thorough cleaning.
Running hot water cycles removes residue, ensuring your coffee tastes fresh and your machine functions smoothly. This simple maintenance step extends the life of your Keurig 2.0 and enhances your coffee experience.
Clean the water reservoir
- Remove Reservoir: Carefully remove the water reservoir from the machine.
- Wash: Use warm, soapy water to wash the reservoir and its lid.
- Rinse: Rinse thoroughly to remove all soap residue.
- Dry: Dry with a clean cloth or let air dry completely.
- Reassemble: Once dry, reattach the reservoir to the machine.
Cleaning the water reservoir regularly prevents buildup and ensures fresh, great-tasting coffee every time you brew.
Wipe the machine exterior
Cleaning a Keurig 2.0 coffee maker is simple. Start by wiping the machine’s exterior. Use a damp cloth to clean all surfaces, removing dust, spills, and coffee stains. Ensure to clean around the buttons and display. Regularly wiping the exterior keeps your Keurig looking new and prevents the buildup of grime. For a thorough clean, avoid using harsh chemicals. A gentle wipe down after each use is recommended for optimal maintenance.
Conclusion
Cleaning your Keurig 2.0 coffee maker regularly ensures optimal performance and delicious coffee every time. Start by unplugging the machine and disassembling removable parts. Wash these parts with warm, soapy water. Use a paperclip to clear any clogs in the needle. Fill the reservoir with a mixture of vinegar and water, then run several brew cycles without a K-cup to descale the machine. Finally, run a few cycles with clean water to rinse. By following these steps, you can keep your Keurig 2.0 coffee maker in top condition and enjoy your favorite beverages without any hassle.