Are you wondering how to descale a Bunn coffee maker? Regular descaling is crucial to maintain your Bunn coffee maker’s performance and extend its lifespan. Over time, mineral buildup from hard water can clog your machine, affecting the flavor of your coffee. Descaling removes these deposits, ensuring your coffee maker continues to brew efficiently. In this guide, we’ll walk you through the simple steps to descale your Bunn coffee maker, using easy-to-find ingredients like vinegar or a descaling solution. Whether you’re a seasoned barista or a coffee lover at home, our step-by-step instructions will help you keep your Bunn coffee maker in top shape. Follow along to enjoy consistently great-tasting coffee every time you brew.
Gather your materials
To properly descale your Bunn coffee maker, gathering the right materials is essential. You will need white vinegar, which effectively breaks down mineral deposits. Fresh water is crucial for rinsing the coffee maker after descaling. Additionally, have a soft cloth or sponge on hand to clean any residue and a container to catch the water during the process. Start by mixing equal parts of white vinegar and water, then pour it into the coffee maker’s reservoir. Run the machine through a brew cycle, allowing the solution to remove build-up. Afterward, rinse the coffee maker thoroughly with fresh water to ensure no vinegar remains. Using a soft cloth or sponge, wipe down the exterior and interior to complete the cleaning process. These materials ensure a thorough and effective descaling.
Turn off and unplug the coffee maker
Before starting the descaling process, it’s crucial to turn off and unplug your coffee maker. This safety step ensures that the machine is not operating and prevents any electrical hazards. After turning off the coffee maker, unplug it from the power source to avoid accidental activation during cleaning. This will allow the descaling solution to work effectively without interference. Once unplugged, proceed with the descaling process, ensuring that the machine is completely powered down. Following this step will help maintain the safety and efficiency of your coffee maker while ensuring a thorough cleaning.
Empty the water reservoir
Emptying the water reservoir is a crucial step in maintaining your coffee maker. Before starting any cleaning or descaling process, ensure that the water reservoir is completely emptied. This removes any leftover water that could interfere with the effectiveness of the descaling solution. Simply pour out the water and dispose of it, making sure no water remains in the reservoir. Once emptied, proceed with adding your descaling solution or cleaning mixture. This step ensures that the descaling process is not diluted and that your coffee maker will be thoroughly cleaned, improving its performance and extending its lifespan.
Remove the filter and coffee grounds
Removing the filter and coffee grounds is essential for a thorough coffee maker cleaning. Start by taking out the filter basket from the machine. Dispose of any used coffee grounds to prevent clogs and ensure a fresh start for the cleaning process. Wash the filter basket and any other removable parts with warm, soapy water to remove residual coffee oils and debris. This step ensures that the descaling solution can effectively clean all internal components, improving your coffee maker’s performance and taste. Once cleaned, reassemble the coffee maker and proceed with the descaling process to keep your machine in top condition.
Prepare the descaling solution
Preparing the descaling solution is a crucial step in maintaining your coffee maker. Start by mixing equal parts of white vinegar and water, or follow the instructions on a commercial descaling product. Pour the mixture into the coffee maker’s water reservoir. This solution effectively breaks down mineral deposits that accumulate over time. Make sure to stir the mixture well for an even concentration. Once prepared, proceed with the descaling process as outlined in your coffee maker’s manual. This step ensures that your machine is thoroughly cleaned, improving its performance and extending its lifespan.
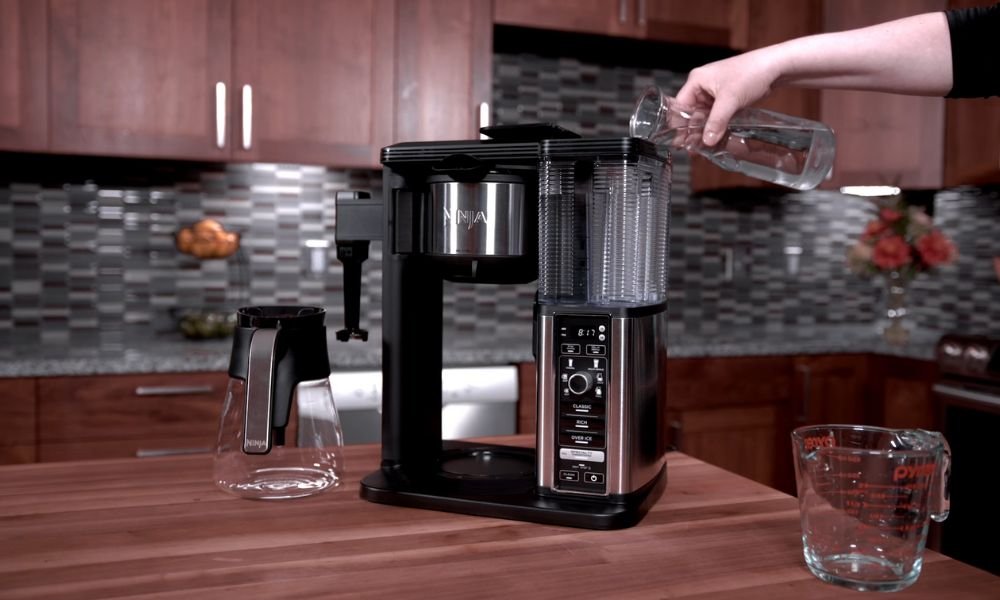
Fill the water reservoir
Filling the water reservoir is an essential step in preparing your coffee maker for cleaning. Begin by adding the descaling solution or a mixture of equal parts white vinegar and water into the reservoir. Ensure you fill it to the maximum level indicated on the machine to allow for a complete cleaning cycle. If you’re using a commercial descaling product, follow the manufacturer’s instructions for the correct amount. Properly filling the reservoir ensures that the descaling solution circulates through the coffee maker’s components, effectively removing mineral deposits and buildup. Once filled, proceed with running the descaling cycle as per the coffee maker’s manual to maintain optimal performance.
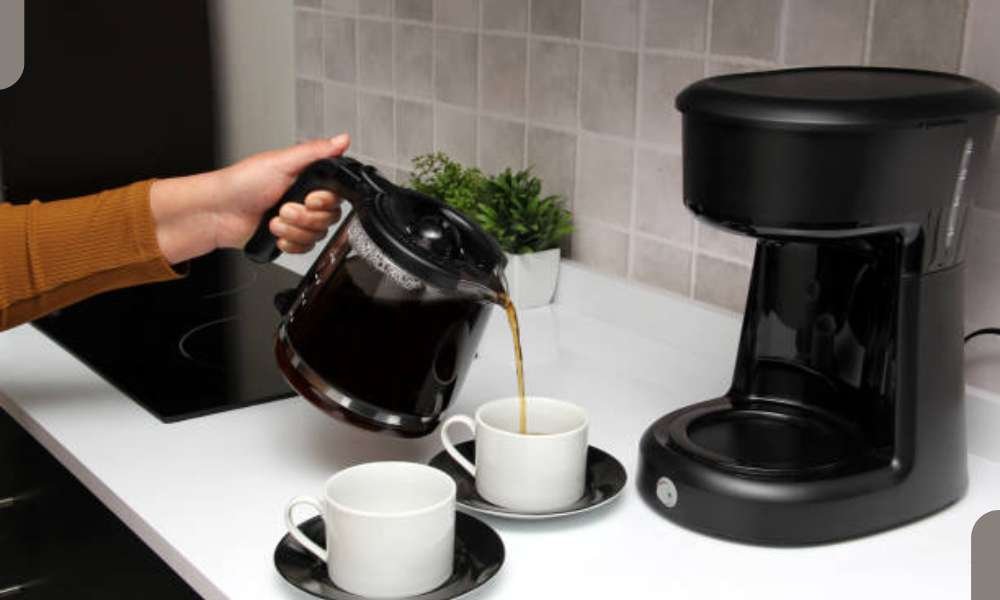
Run a brewing cycle
Running a brewing cycle is key to effectively descaling your coffee maker. Begin by starting the brewing cycle as you would for a regular pot of coffee, but with the descaling solution in the reservoir. This process allows the solution to flow through the internal components, breaking down mineral buildup. Let the cycle complete fully to ensure thorough cleaning. If your coffee maker has a “clean” mode, use it for optimal results. After the brewing cycle, discard the solution and rinse the reservoir thoroughly with fresh water. Running this cycle ensures your coffee maker performs efficiently and brews better-tasting coffee.
Rinse the coffee maker
Rinsing the coffee maker is essential after descaling to remove any remaining solution and ensure a fresh taste. Start by emptying the water reservoir of any leftover descaling mixture. Fill the reservoir with freshwater and run a brewing cycle to flush out any residue. Repeat this process at least once or twice to thoroughly clean the internal components. Discard the rinse water and wipe down the exterior and removable parts with a soft cloth. Proper rinsing prevents any lingering vinegar taste and ensures your coffee maker is ready for regular use, enhancing both its performance and the quality of your brewed coffee.
Clean the exterior and components
Cleaning the exterior and components of your coffee maker is crucial for maintaining its appearance and functionality. After descaling, unplug the coffee maker and allow it to cool. Use a soft cloth or sponge with warm, soapy water to wipe down the exterior, including the control panel and any spills or stains. For removable components like the filter basket and drip tray, wash them separately with warm, soapy water and rinse thoroughly. Ensure all parts are dry before reassembling the coffee maker. Regular cleaning of both the exterior and components helps prevent buildup and keeps your coffee maker in optimal condition, ensuring better performance and a longer lifespan.
Reassemble the coffee maker
Reassembling the coffee maker is the final step in the cleaning process. After thoroughly cleaning and drying all parts, carefully reattach the filter basket, drip tray, and any other removable components. Ensure they are securely in place and properly aligned. Once reassembled, plug the coffee maker back in and power it on. Perform a test brew with fresh water to verify that everything is functioning correctly. Reassembling your coffee maker correctly ensures it operates smoothly and maintains optimal performance for your next brew. Regular reassembly and maintenance help extend the lifespan of your coffee maker.
Test the coffee maker
Testing the coffee maker after cleaning ensures it functions correctly. Start by filling the reservoir with fresh water and running a brewing cycle without coffee grounds. This helps flush out any remaining cleaning solution and verifies that the machine is operating smoothly. Check for any unusual sounds or leaks during the cycle. Once the cycle is complete, discard the water and inspect the brewed result for clarity and taste. A successful test confirms that the coffee maker is ready for regular use and that it has been thoroughly cleaned and descaled.
Conclusion
Knowing how to descale a Bunn coffee maker is essential for maintaining its performance and extending its lifespan. By following these steps—turning off and unplugging the coffee maker, emptying the water reservoir, removing the filter and coffee grounds, preparing the descaling solution, filling the reservoir, running a brewing cycle, rinsing the coffee maker, and cleaning the exterior—you ensure that mineral deposits are effectively removed. Regular descaling keeps your coffee maker brewing delicious coffee and prevents potential issues. Incorporating these practices into your maintenance routine will help your Bunn coffee maker operate at its best and provide you with consistently great-tasting coffee.