Are you struggling with emptying your Bunn coffee maker correctly? In this guide, we’ll cover the steps and tips you need to ensure your coffee maker remains clean and functional, enhancing your coffee experience. Learn how to properly empty and maintain your Bunn coffee maker, preventing issues like clogging and ensuring that every cup of coffee tastes fresh. Whether you’re a coffee enthusiast or just looking for practical maintenance tips, this guide provides all the essential information for handling your Bunn machine with care. Keep reading to become proficient in the simple yet crucial routine of emptying your Bunn coffee maker effectively.
Understanding your Bunn coffee maker
Unlock the full potential of your Bunn coffee maker with our comprehensive guide! Understanding your Bunn coffee maker goes beyond basic operation—it’s about mastering the features that make your coffee exceptional. This article delves into the mechanics and maintenance tips that will help you optimize your coffee brewing experience. Learn how to fine-tune settings, perform regular maintenance, and troubleshoot common issues. Whether you’re a coffee aficionado or a busy professional seeking a quick caffeine fix, this guide will help you ensure that every cup from your Bunn coffee maker is brewed to perfection. Enhance your coffee-making skills and enjoy a superior coffee experience every day!
Gathering necessary supplies
Preparing to clean requires gathering the right supplies to ensure a thorough and effective job. Whether you’re tackling a home project or cleaning your workspace, having the necessary tools at hand is crucial. This includes clean cloths for wiping surfaces, a suitable cleaning solution for disinfecting, and brushes for reaching into nooks and crannies. By assembling these essential items, you can streamline your cleaning process, increase efficiency, and achieve better results. Remember, the key to a successful clean starts with the right supplies. Equip yourself with these basics and transform any cleaning task into a more manageable and rewarding endeavor. Let’s make your space sparkle with the right tools today!
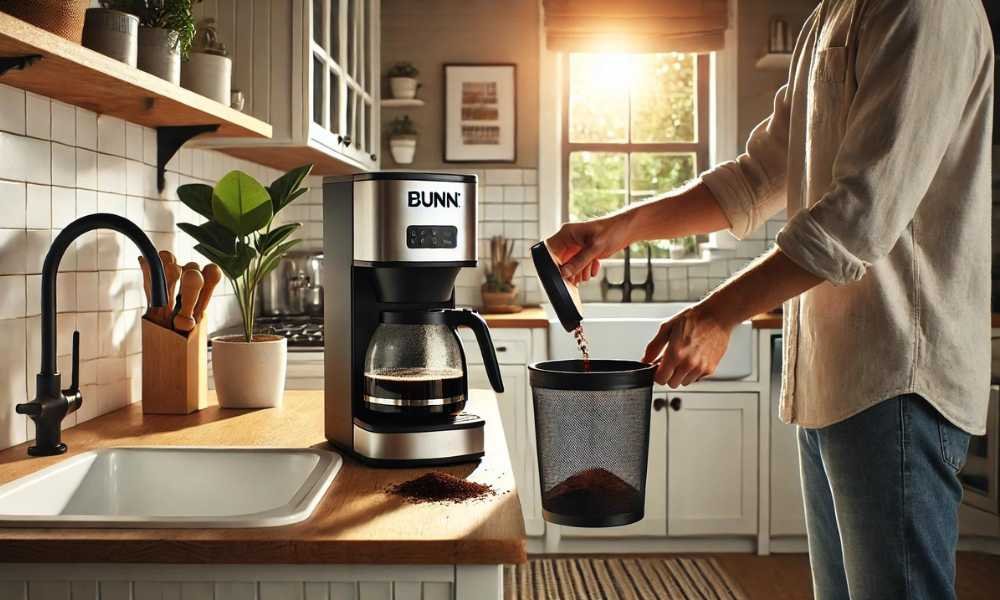
Remove the brew funnel and carafe
Maintaining your coffee maker starts with the simple yet crucial step of removing the brew funnel and carafe. This process is essential for ensuring that your coffee machine operates efficiently and continues to produce high-quality beverages. Start by carefully detaching the brew funnel—this component is vital for directing coffee into the carafe. Next, lift the carafe from its heating plate. Regularly cleaning these parts prevents coffee residue buildup and extends the lifespan of your equipment. This not only enhances the flavor of your coffee but also maintains the hygiene and functionality of your coffee maker. Remember, proper care leads to the best coffee experience.
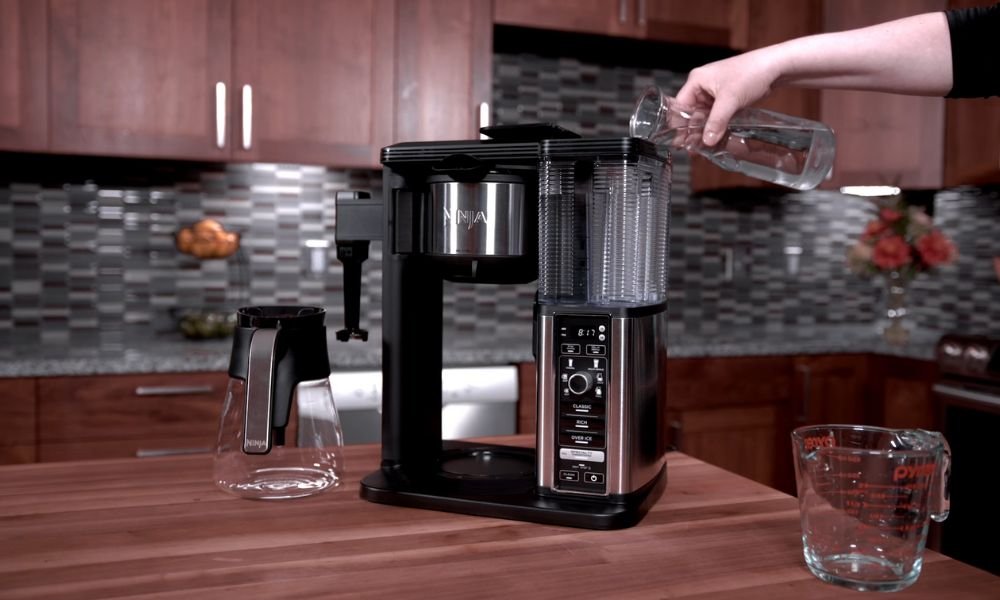
Drain the water reservoir
Draining the water reservoir of your appliance is a vital step in maintenance that ensures optimal performance and hygiene. Over time, water left in the reservoir can lead to mineral buildup and affect the taste of your beverages. To drain the reservoir, first ensure your device is turned off and unplugged. Locate the drain plug or valve, typically found at the bottom or side of the unit, and remove it to let the water flow out. This process not only helps in cleaning but also prepares the appliance for storage or repair. Regularly draining the reservoir keeps your machine functioning efficiently, providing you with fresh and delicious results every time.
Clean the brew funnel and spray head
Keeping your coffee maker in top shape includes regular cleaning of the brew funnel and spray head, crucial components for achieving the perfect brew. Start by removing the brew funnel and spray head. Rinse them under warm water to dislodge any coffee grounds or residue. For a deeper clean, soak these parts in a mixture of water and mild detergent, then use a soft brush to gently scrub away any buildup. Rinse thoroughly to ensure no soap remains. This simple maintenance routine enhances the functionality of your coffee maker and ensures every cup of coffee is fresh and flavorful. Regular cleaning not only extends the life of your machine but also maintains the quality of your brew.
Clean the carafe and warming plate
Cleaning the carafe and warming plate is essential for maintaining the quality and taste of your coffee. Begin by removing the carafe from the coffee maker and washing it with warm, soapy water. Use a soft sponge to gently scrub the inside to remove any coffee stains or residue. Rinse thoroughly with clean water. Next, wipe down the warming plate with a damp cloth to remove any spills or buildup. Avoid using abrasive cleaners or pads, as these can damage the surface. Regular cleaning not only ensures that your coffee tastes great but also extends the lifespan of your coffee maker by preventing the accumulation of old coffee oils and residue.
Descale the coffee maker
Descaling your coffee maker is crucial for maintaining its performance and extending its lifespan, especially in areas with hard water. This process removes mineral buildup that can affect the taste of your coffee and hinder the machine’s efficiency. To descale, fill the reservoir with a mixture of equal parts water and white vinegar. Run a brewing cycle halfway, then pause for an hour to let the solution dissolve the deposits. Resume the cycle to flush the system thoroughly, then run a few more cycles with just water to eliminate any vinegar residue. Descaling regularly ensures your coffee maker operates smoothly and continues to produce delicious, fresh-tasting coffee.
Reassemble and test
After cleaning and maintenance, reassembling and testing your equipment is the final step to ensure everything is in perfect working order. Start by carefully putting all components back together according to the manufacturer’s instructions. Make sure that each part, such as the brew funnel, carafe, and any removable filters, is securely in place. Once assembled, run a test cycle with water only, to check for smooth operation and to confirm that all parts are functioning correctly. This test helps verify that no leaks or misalignments occur and that the machine is ready for regular use. Regular testing after maintenance can enhance the longevity and performance of your equipment, ensuring consistent quality and reliability in its operation.
Conclusion
Successfully learning how to empty a Bunn coffee maker is an essential skill for any coffee enthusiast seeking to prolong the life and enhance the performance of their machine. Regularly emptying and cleaning your coffee maker not only ensures it operates efficiently but also maintains the quality of the coffee it brews. From removing the brew funnel and carafe to draining the water reservoir and descaling the system, each step contributes to the overall health of your coffee maker. Remember, the key to a delicious, fresh cup of coffee begins with proper care and maintenance of your empty Bunn coffee maker. Embrace these simple practices, and you’ll enjoy superior coffee every day.