Taking apart a Keurig espresso maker may seem like a frightening undertaking, but it’s critical when troubleshooting or deep cleansing your device.Knowing how to take apart a Keurig coffee maker can help you resolve common issues like clogs, water flow problems, or even brew inconsistency. Whether you’re performing maintenance or preparing the machine for storage, understanding the right steps can save you time and effort. This manual will stroll you through the method of disassembling your Keurig appropriately, highlighting the crucial element components and gear needed to get the procedure completed. Follow alongside for a seamless breakdown of your espresso maker.
Understanding The Parts Of A Keurig Coffee Maker
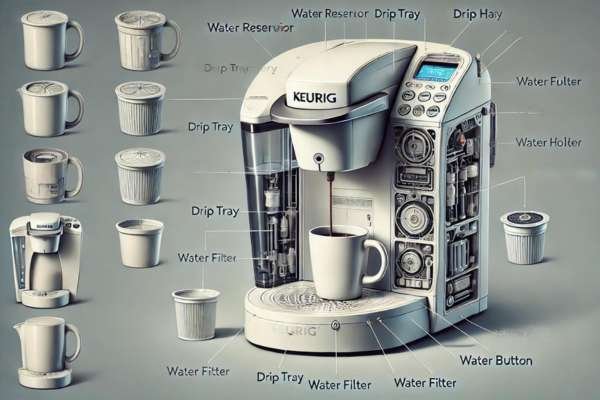
Imagine the Keurig as a miniature factory where each part plays a pivotal role. The water reservoir, drip tray, pod holder, needles, heating element, and internal tubing all function in a precise sequence, creating your perfect cup of coffee. Before diving into the task of disassembly, take a moment to familiarize yourself with these components. Each piece has its place and purpose. Understanding their roles not only simplifies the process but also ensures you can reassemble the machine properly without any guesswork later on.
Tools You’ll Need For Disassembling A Keurig

Preparation is half the battle. To disassemble a Keurig, you don’t need an arsenal of tools, but the right ones make all the difference. Gather a Phillips screwdriver, flathead screwdriver, needle-nose pliers, and a soft cloth. A cleaning brush or thin wire may also come in handy when dealing with stubborn clogs. By having these tools at your disposal from the start, you can avoid unnecessary interruptions and keep the process moving smoothly. This simple kit is all you need to unlock the inner workings of your Keurig.
Step-By-Step Guide To Removing The Outer Casing
Let’s start with the outer shell, the protective casing that guards the intricate mechanics within. First, unplug the machine—safety comes first. Now, using a flathead screwdriver, gently pry open the seams along the back. Some models may hide screws beneath plastic covers, so check for those and remove them with a Phillips screwdriver. Once the screws are out, you can begin lifting the casing away from the machine. Slowly, carefully. As you expose the inner components, you’re opening up a world of gears and tubing that, while seemingly complicated, is perfectly logical.
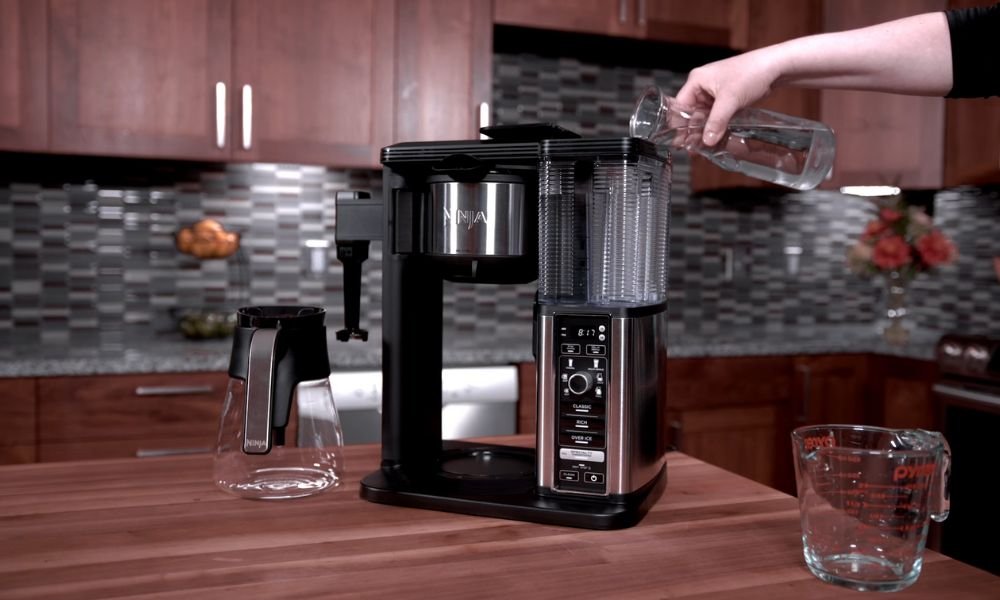
How To Remove The Water Reservoir
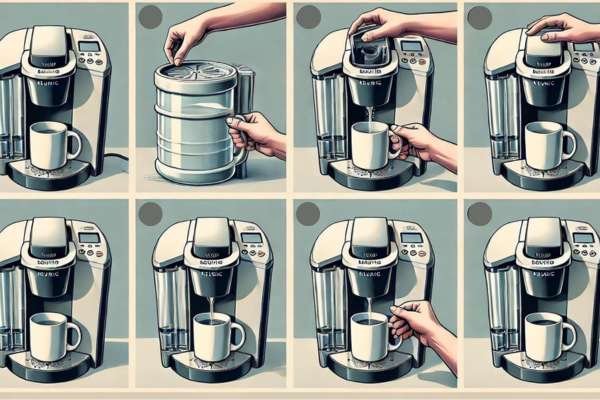
The water reservoir: it’s the easiest part to remove, but still requires care. Empty out any water first. Then, with a firm grip, pull the reservoir upward. On some models, it may take a slight twist to free it from the machine’s body. Keep in mind, not every model releases the same way, so be patient. Once removed, you’ve cleared one of the most prominent external pieces, bringing you closer to the heart of the machine.
Detaching The Drip Tray And Pod Holder
Next up is the drip tray, a simple but essential component that catches excess liquid. It slides out with minimal effort—just pull it forward. The pod holder, on the other hand, demands a bit more caution. Containing sharp needles that puncture the pods, the pod holder must be handled delicately. Gently lift it out of its slot, avoiding contact with the needles, and set it aside. Removing these components opens up more space for you to work on the deeper sections of the Keurig.
Opening The Keurig Housing
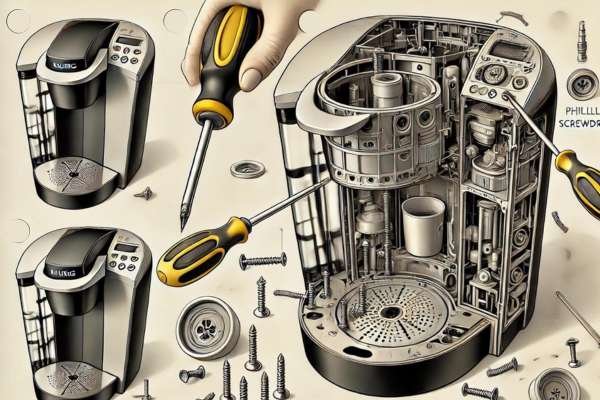
Now we get to the core—opening the inner housing. More screws, yes, but these hold together the internal structure. Using your Phillips screwdriver, methodically unscrew each fastener and set them aside carefully (a magnetic tray works wonders here). Once all screws are removed, the housing will come away effortlessly. Beneath it, you’ll find the heart of the machine, the parts responsible for heating, brewing, and delivering that coveted cup of coffee.
Disassembling The Heating Element
The heating element is the lifeblood of the Keurig, responsible for warming the water to that perfect brewing temperature. Locate it near the machine’s base, then carefully disconnect any wires attached to it using needle-nose pliers. Next, unscrew the mounts holding the heating element in place. This part can be delicate, so handle it with care. With the heating element removed, you’re nearing the crux of the disassembly process.
How To Remove And Clean The Needles
Coffee grounds are notorious for clogging the needles that puncture the pods. Over time, this can lead to decreased performance and weaker brews. Removing the pod holder assembly grants access to the top and bottom needles. Use a cleaning brush or a thin wire to carefully dislodge any debris clogging the needles. In cases where the needles are severely clogged, you may need to unscrew them entirely for a thorough cleaning. A clean needle means a better brew, and this step is crucial for maintaining your Keurig’s efficiency.
Dealing With Keurig Clogs And Blockages
Blockages, the bane of any coffee lover’s existence. If your Keurig isn’t running smoothly, it might be due to a clog in the internal tubing or water lines. To clear these, inspect the tubing closely, using a thin wire or brush to clear out any obstructions. Mineral build-up from hard water can also impede water flow, so be sure to check for any crusted deposits. Removing these blockages can often restore your Keurig to like-new performance.
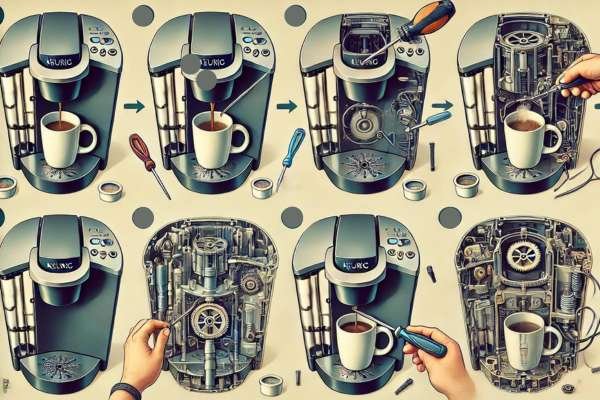
Taking Apart The Keurig Brewer
With the housing removed, the brewer is now exposed. This is where the magic happens. The brewer is responsible for the actual brewing of the coffee, and it can become clogged or damaged over time. Carefully disconnect any wires or tubes connected to the brewer, taking note of their placement for later reassembly. Once freed, the brewer can be further disassembled for a deeper clean or repairs. If you’re unsure of the exact configuration, taking pictures during this step can save you time and frustration later.
Replacing Or Repairing Broken Keurig Parts
During disassembly, you may discover parts that have seen better days. Thankfully, many of the Keurig’s components are replaceable. Identifying a worn-out water pump or a damaged needle? Order replacements from the manufacturer or a trusted supplier. Installing the new parts requires careful attention to detail, as even a minor misalignment could affect the machine’s performance. Always refer to the disassembly steps in reverse when replacing parts to ensure proper fit.
Reassembling The Keurig Coffee Maker
With your Keurig thoroughly cleaned, repaired, or declogged, it’s time to put it all back together. Begin with the brewer, reconnecting the wires and tubes. Next, reinstall the heating element, followed by the internal housing. Secure everything in place with the appropriate screws. Once the internal components are in order, replace the outer casing, ensuring all seams and screws are aligned. Finally, snap the drip tray, pod holder, and water reservoir back into place. Your Keurig is now ready for action—refreshed and reassembled.
Conclusion
Disassembling a Keurig coffee maker is a simple process if done carefully. Start by unplugging the machine for safety. Remove the water reservoir and drip tray, followed by taking out the pod holder. Depending on your model, you may need to unscrew parts to access the internal components. Regular maintenance, such as cleaning or replacing internal parts, can help keep your Keurig in good working condition. Always refer to the manufacturer’s guide for specific instructions to avoid damaging any parts. By following these steps, you can effectively take apart a Keurig coffee maker for cleaning or troubleshooting purposes.